
When you’re just getting started with Microsoft Azure, one of the first things you’ll need to do is get your resources organized — and that’s where resource groups come into play. Think of a resource group like a folder where you keep everything related to a specific project: virtual machines (VMs), storage accounts, network interfaces (NICs), and other related services. It’s a simple but powerful way to keep things neat and manage them more efficiently.
In this post, I’ll walk you through how to create a resource group step-by-step using the Azure Portal. But before we dive in, let’s quickly go over what you’ll need.
Prerequisite
Before creating a resource group, make sure you have:
1. An active Azure subscription – You’ll need this to access and use any Azure services.
2. Account should have at least Contributor or Owner rights to create a resource group.
Steps to create a Resource Group in Azure
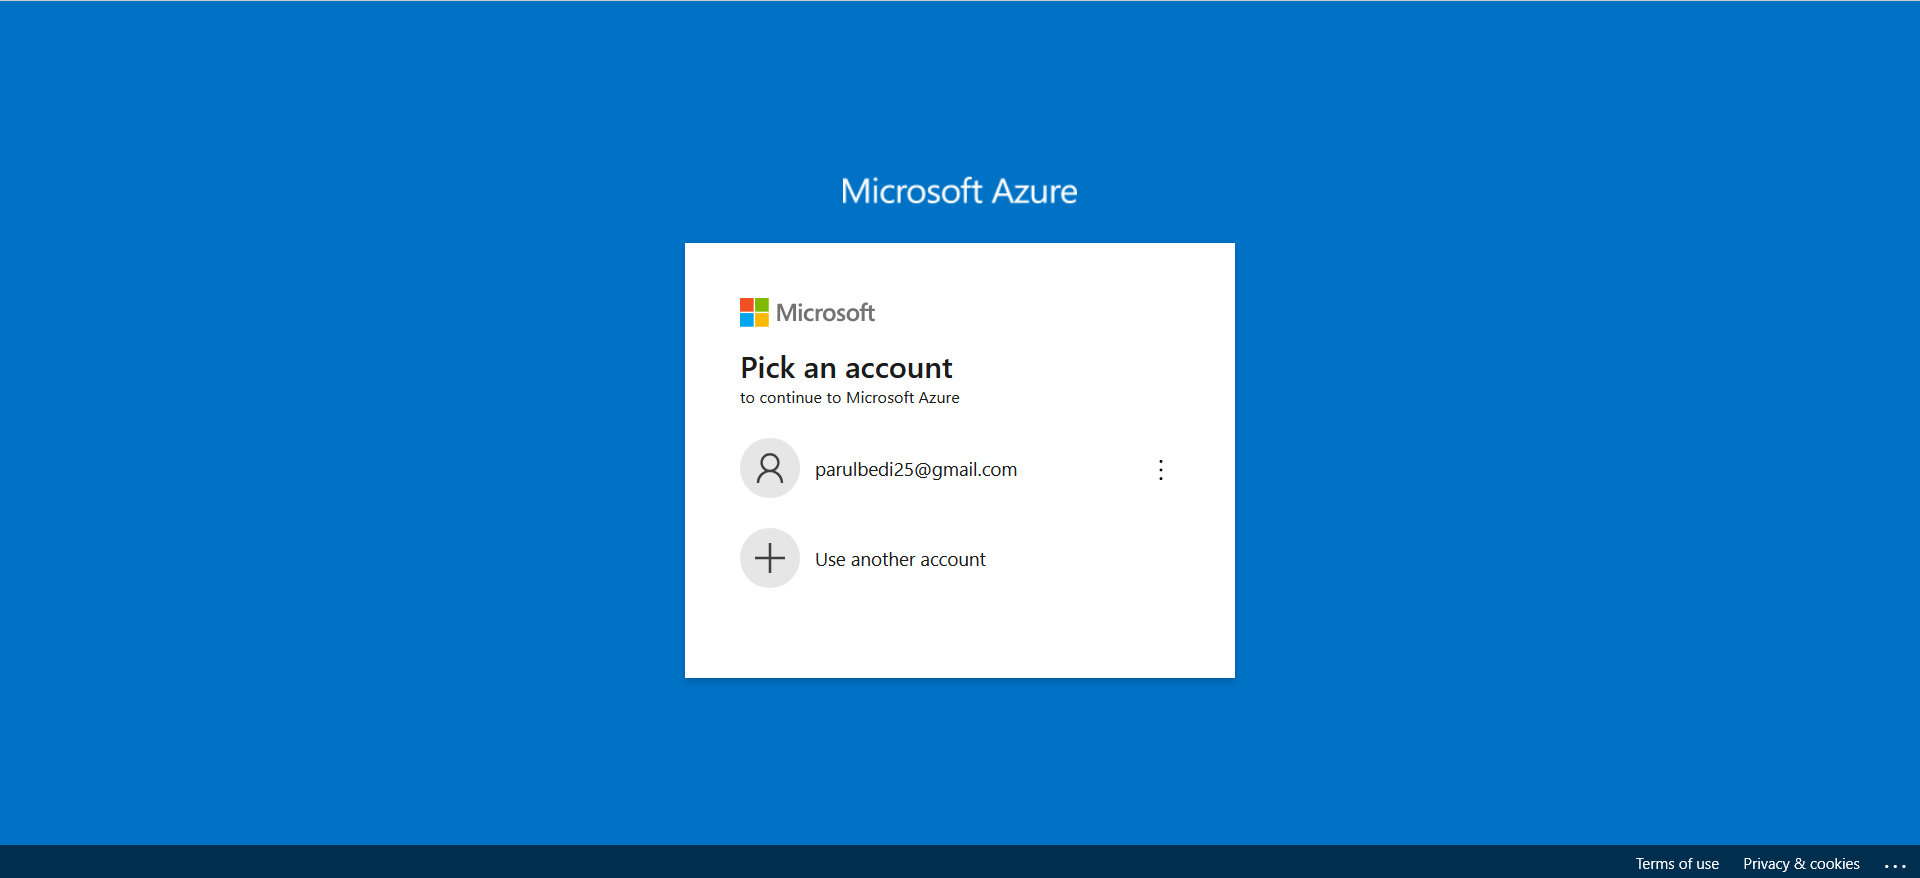
Sign in to the Azure Portal
Go to https://portal.azure.com and sign in with your Azure account.
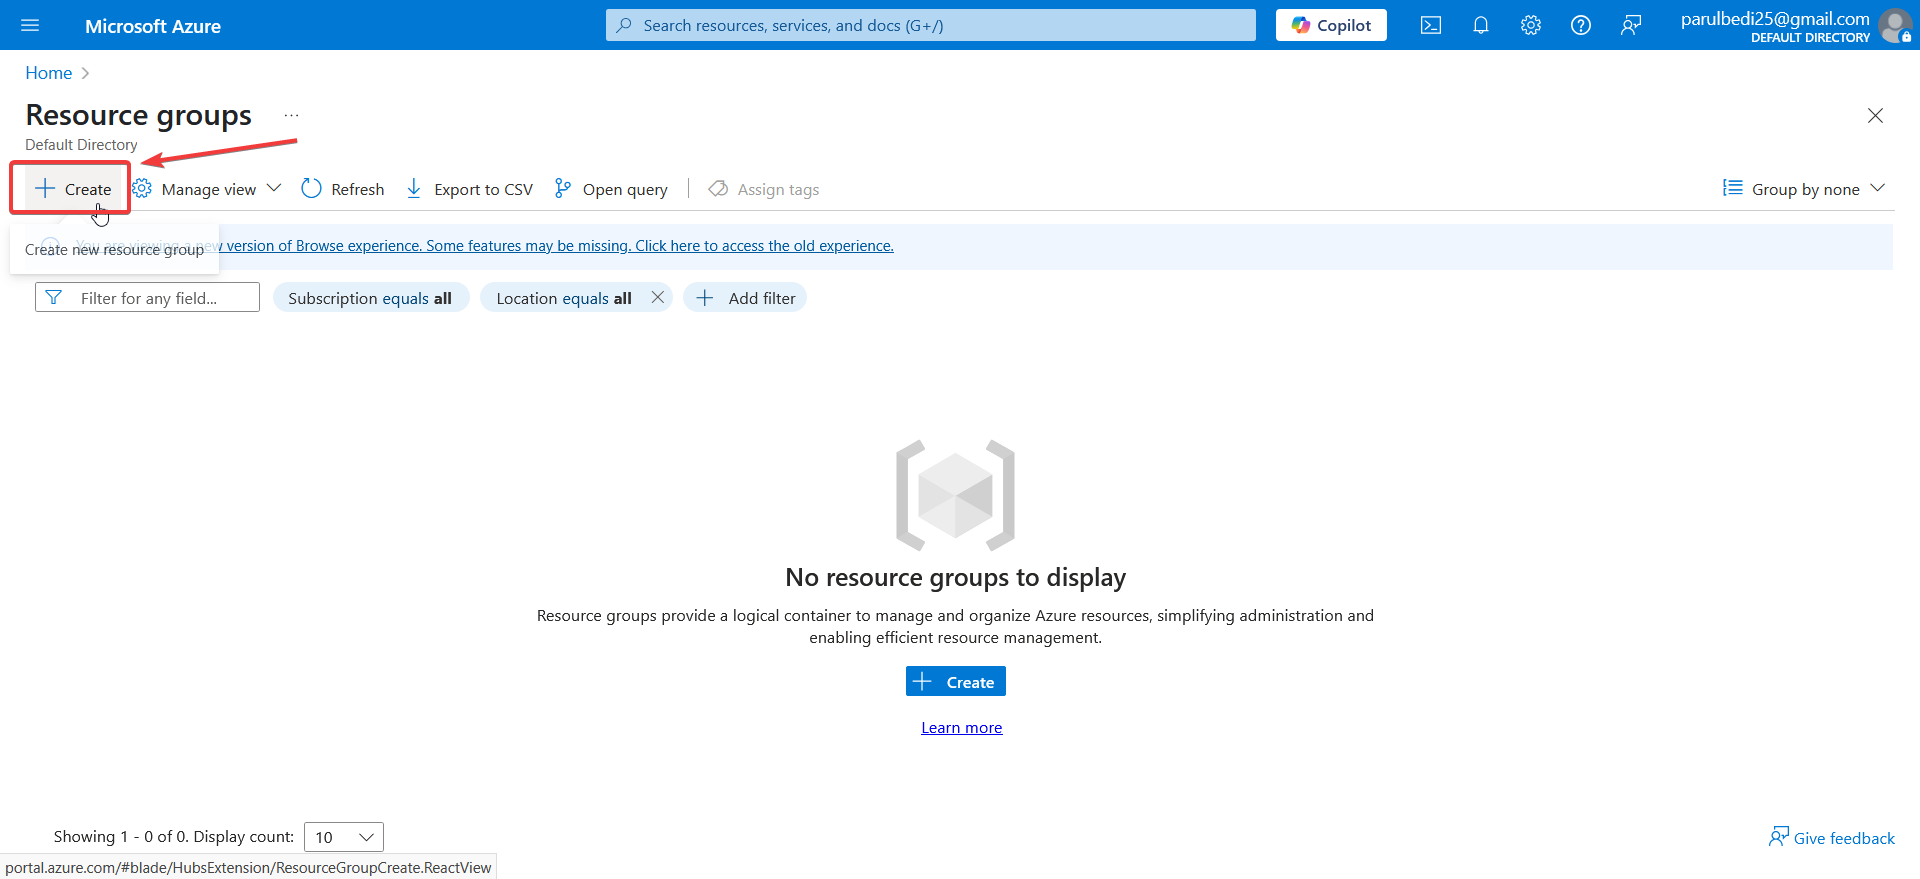
Navigate to Resource Groups
You can either use the search bar at the top to search for “Resource groups”, or
Click the Resource Groups icon directly if it’s pinned to your home screen.

Creating Resource Groups
Click on the + Create button.
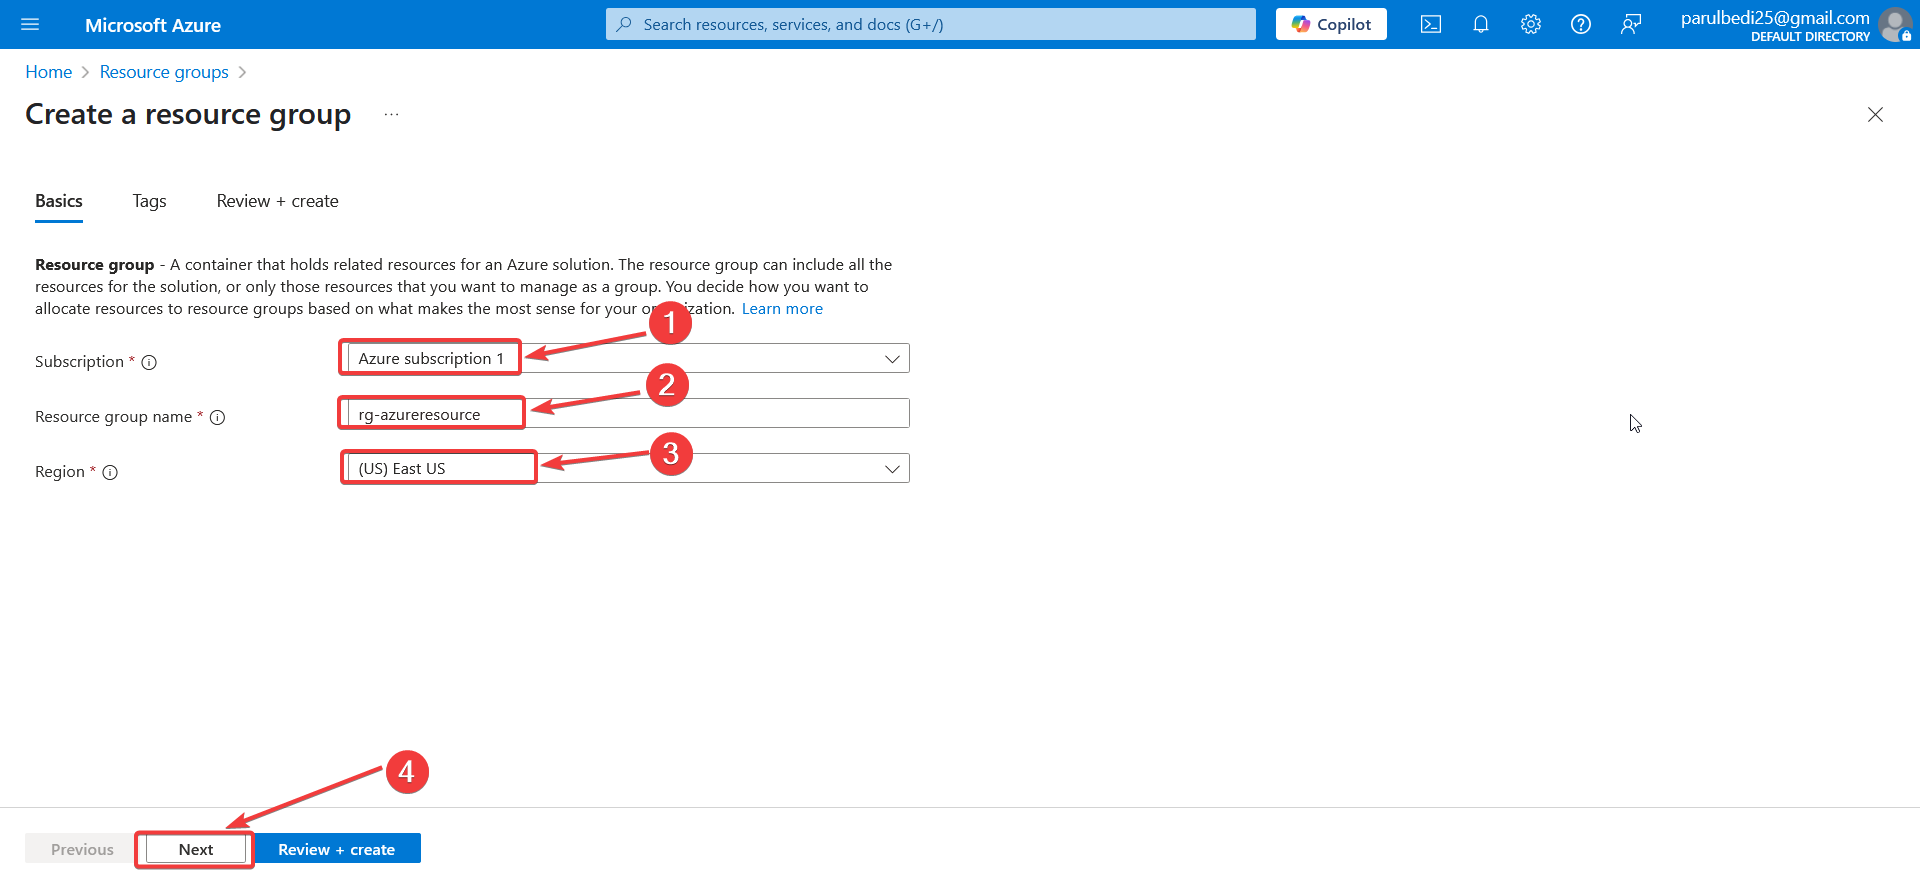
Fill Out the values under the Basics tab, fill in the required information:
Subscription: Choose your Azure subscription.
Resource Group Name: Enter a unique name for your group.
Region: Select a region (e.g., East US). All resources within this group will typically reside in the same region to minimize latency and simplify management.
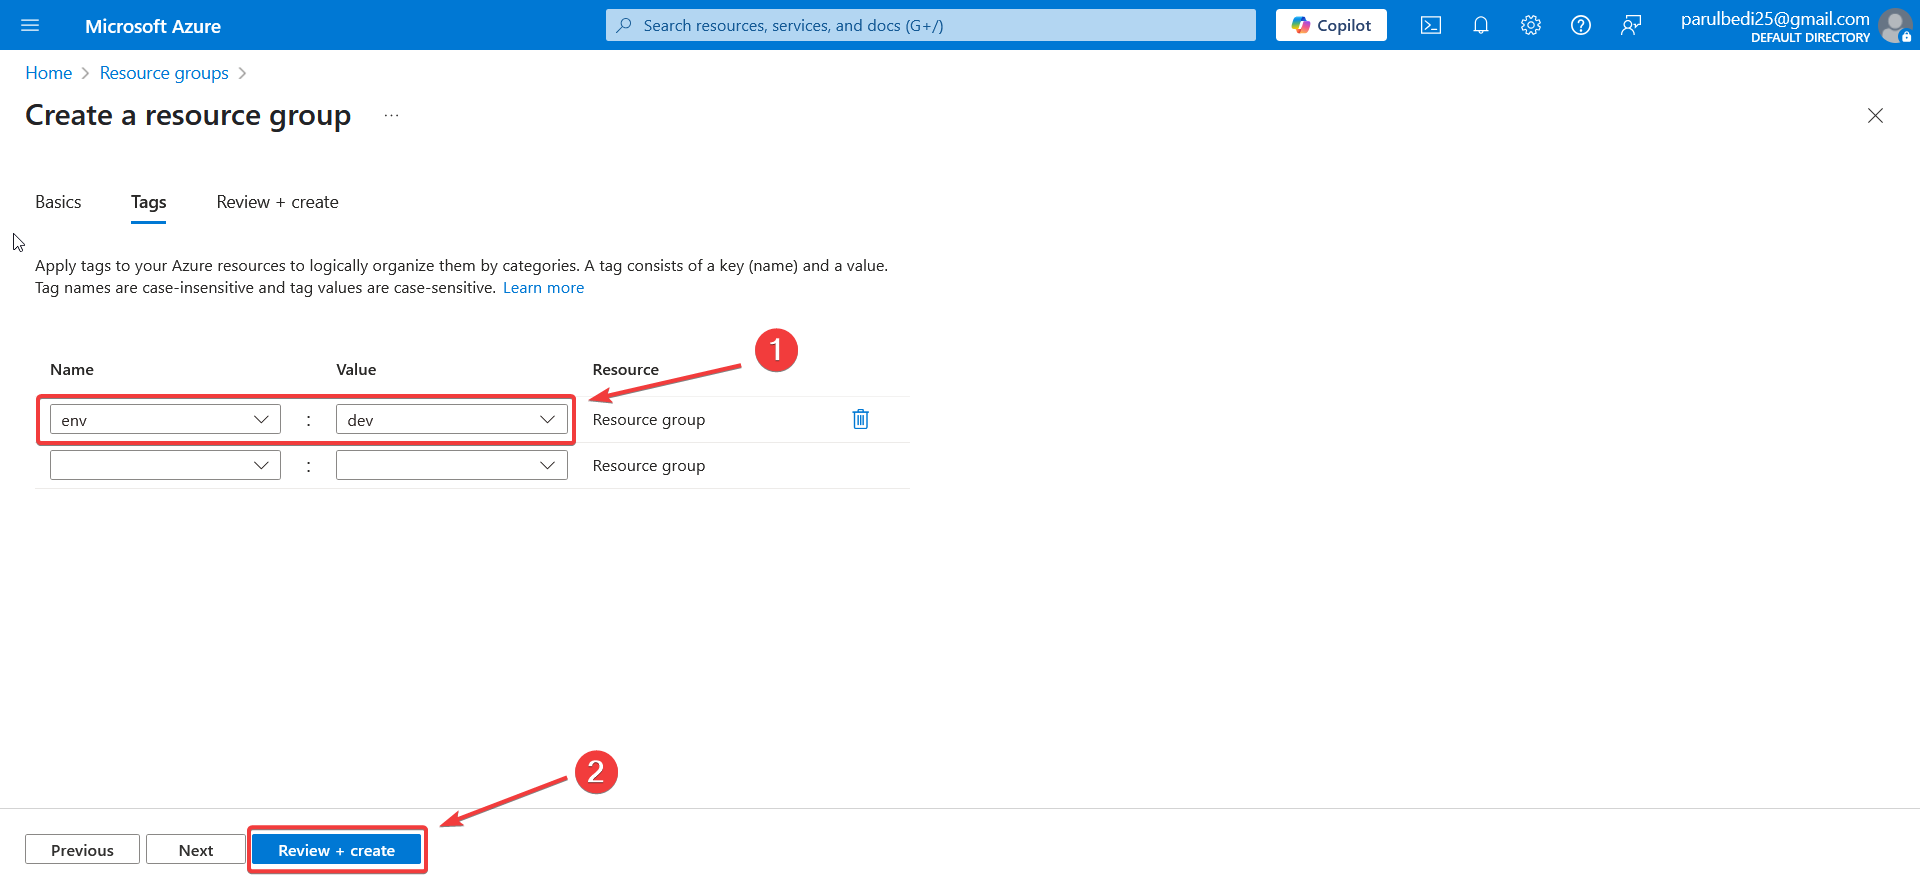
(Optional) Add Tags
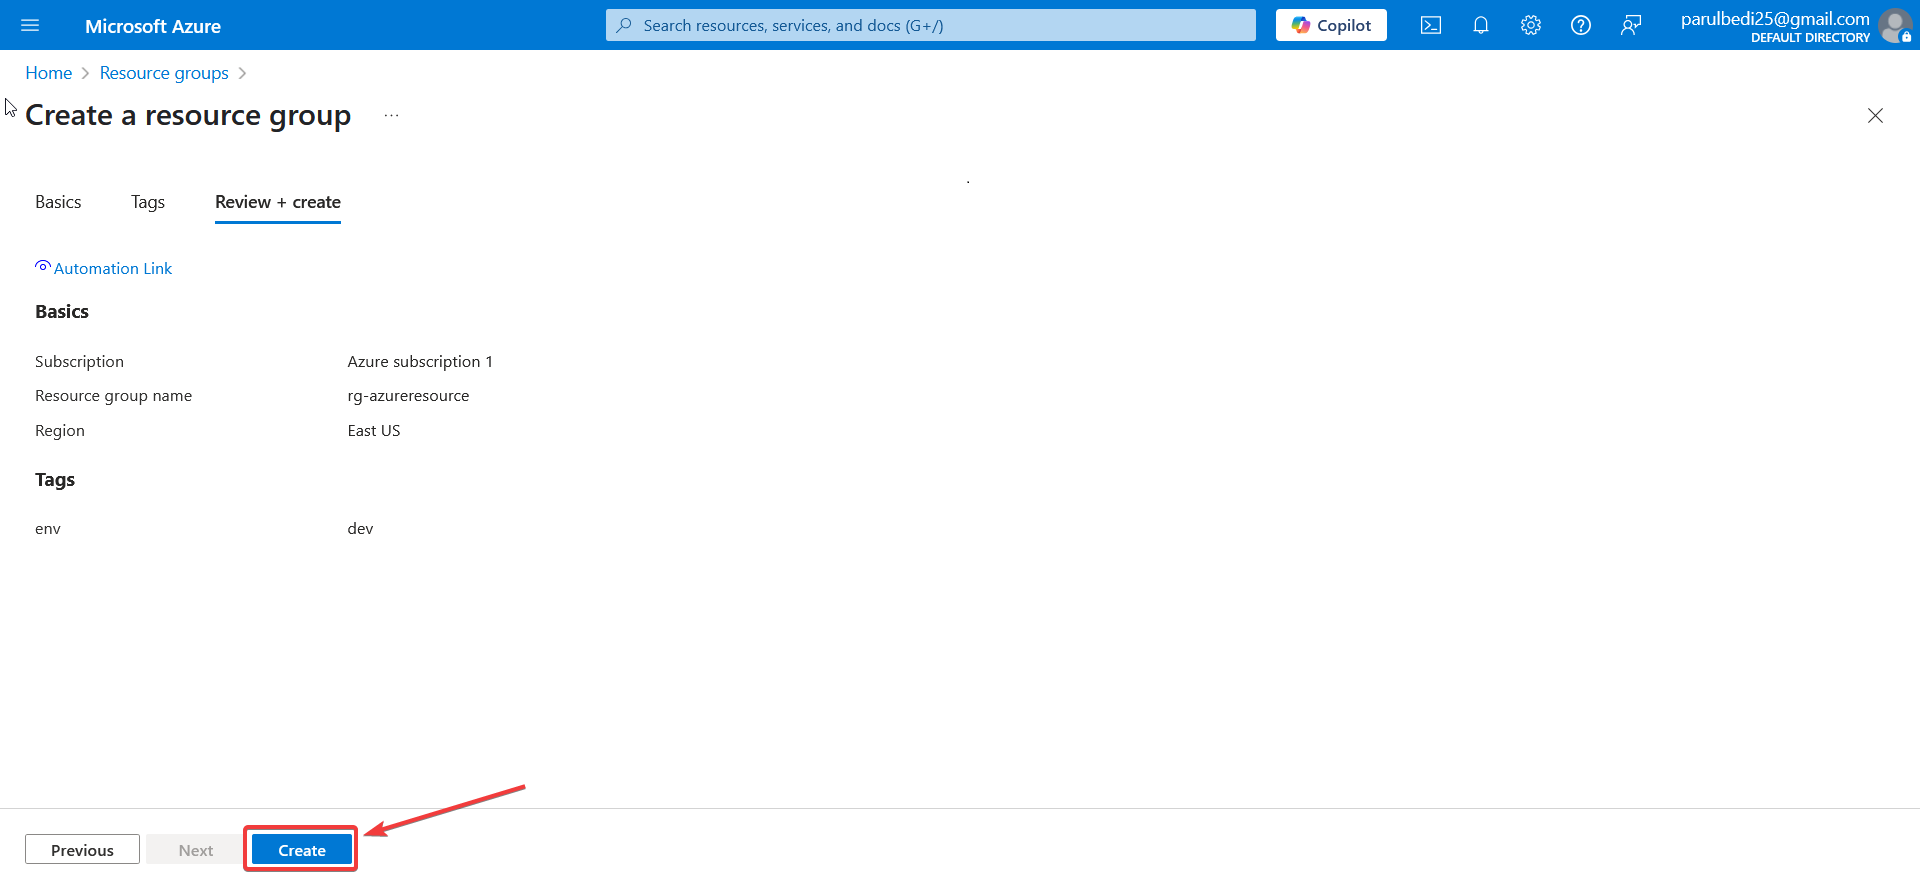
In the Tags tab, you can add values in key-value pairs to organize and track billing. This is optional but useful for large environments. Click on Review + create. Azure will validate your input.
If everything looks good, click on Create.
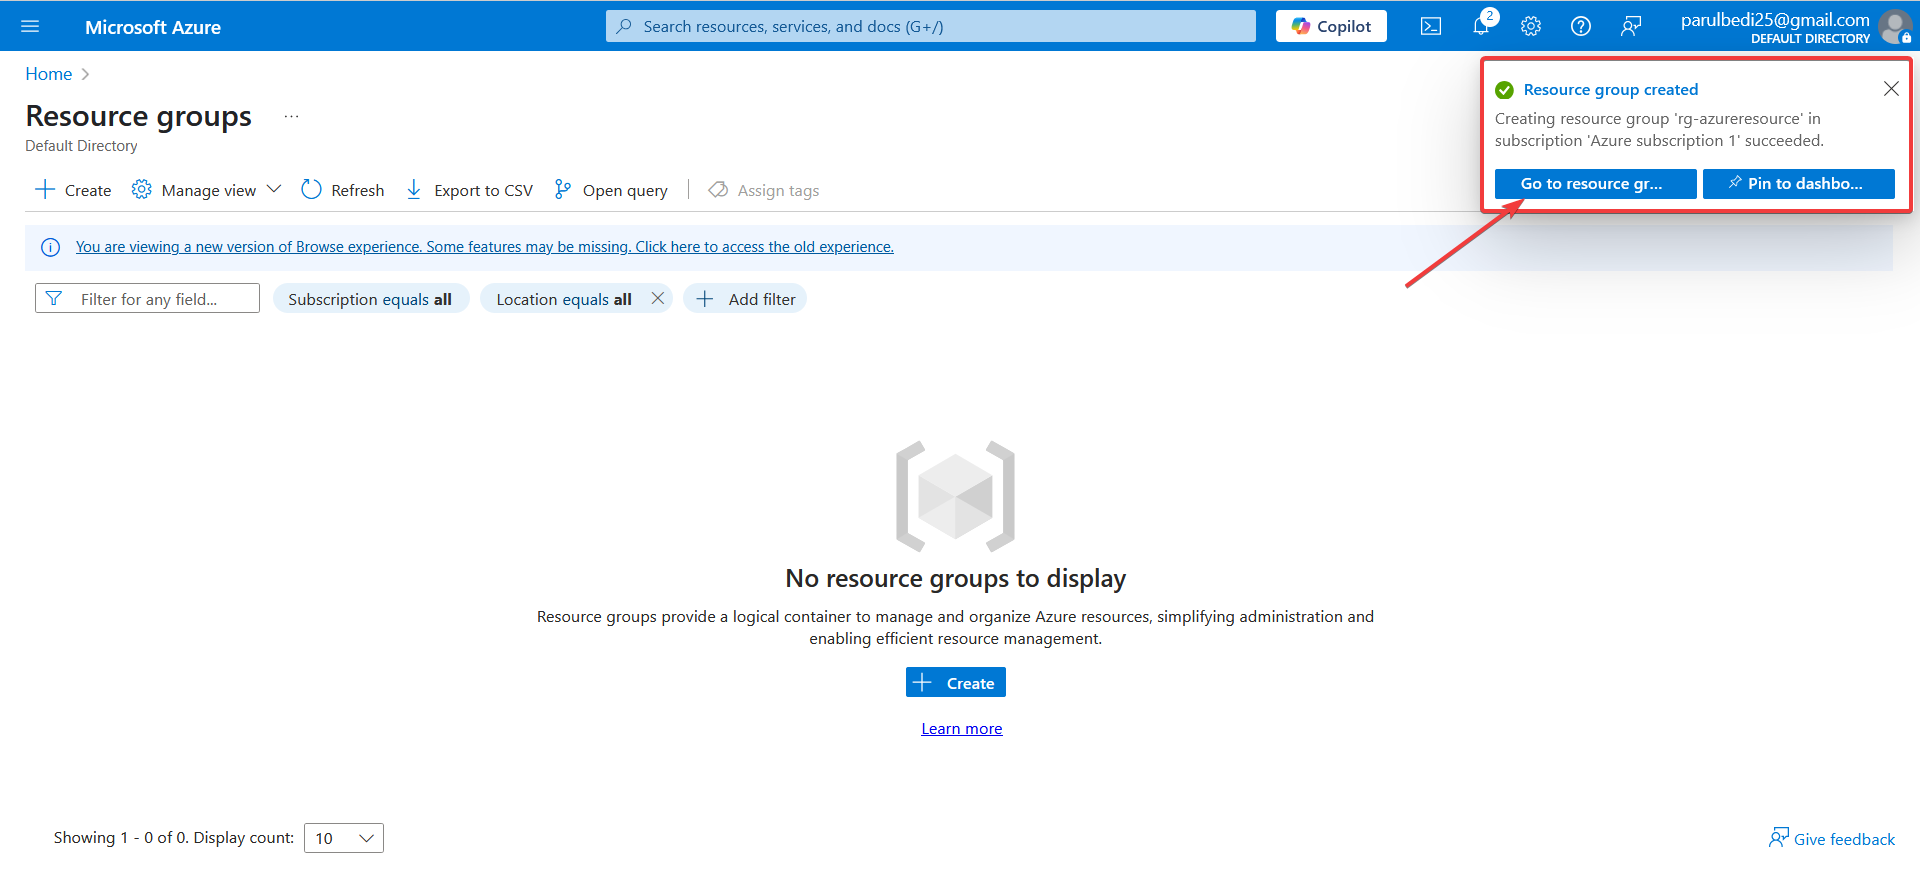
Wait for Deployment
The deployment takes around 10–20 seconds. Once done, click on Go to Resource Group.
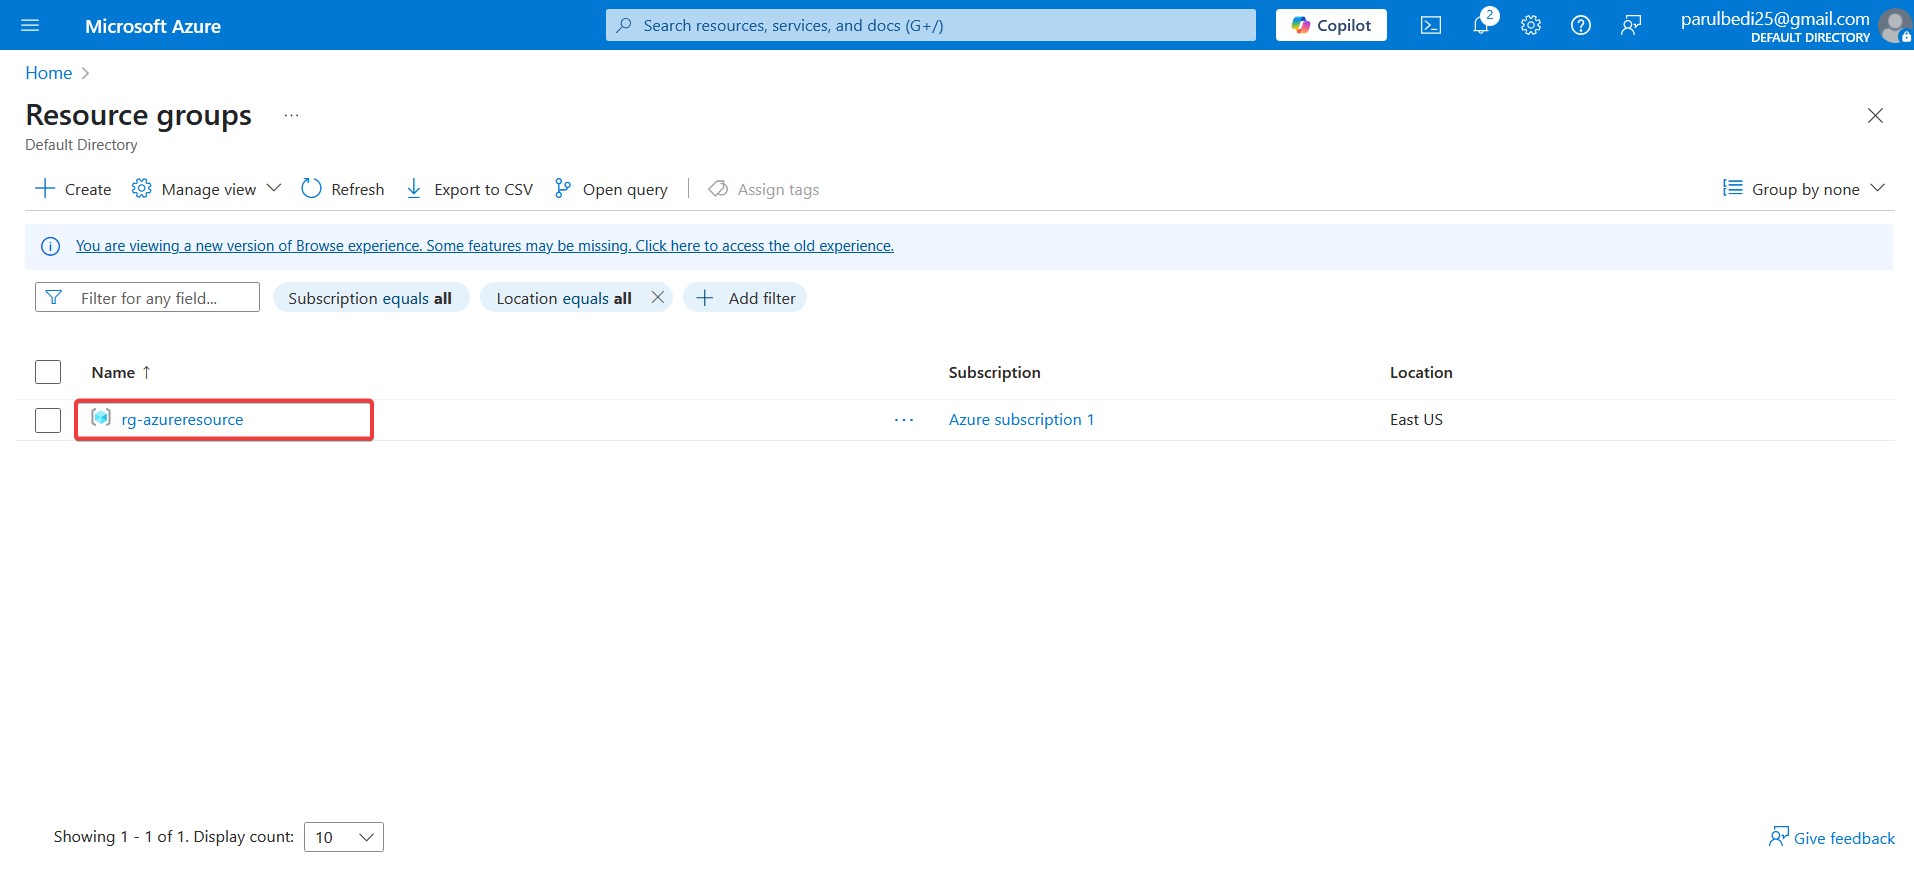
Resource Group is now created successfully
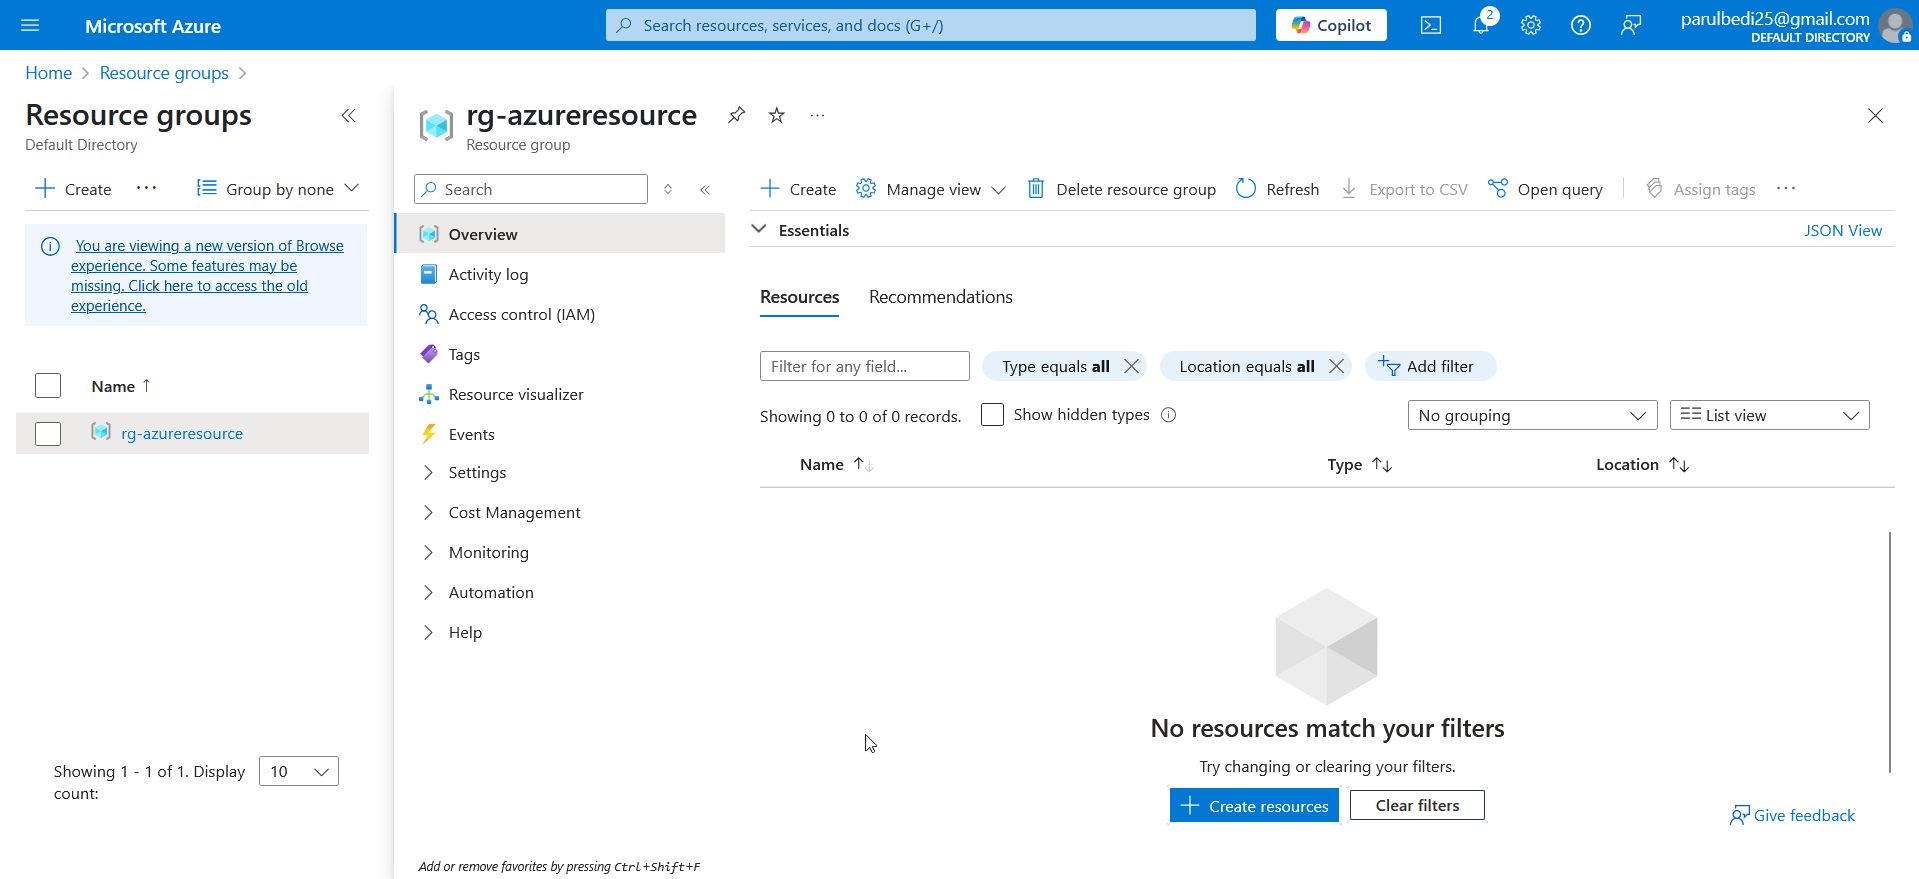
You’ll now see your newly created resource group.
At this point, it will be empty
What’s Next?
Now that our resource group is set up, we’re ready to deploy our first Azure resource. In the next post, I’ll guide you through creating a simple Virtual Machine (VM) inside this resource group.
Stay tuned!